Loadbalancer
Overview of Load Balancer in Stackbill Cloud Management Portal.
A load balancer can be deployed as software or hardware to a device that distributes connections from clients between a set of servers. A load balancer acts as a ‘reverse-proxy’ to represent the application servers to the client through a virtual IP address (VIP). This technology is known as server load balancing (SLB). SLB is designed for pools of application servers within a single site or local area network (LAN).
Add a load balancer to an instance in StackBill Cloud Management Portal.
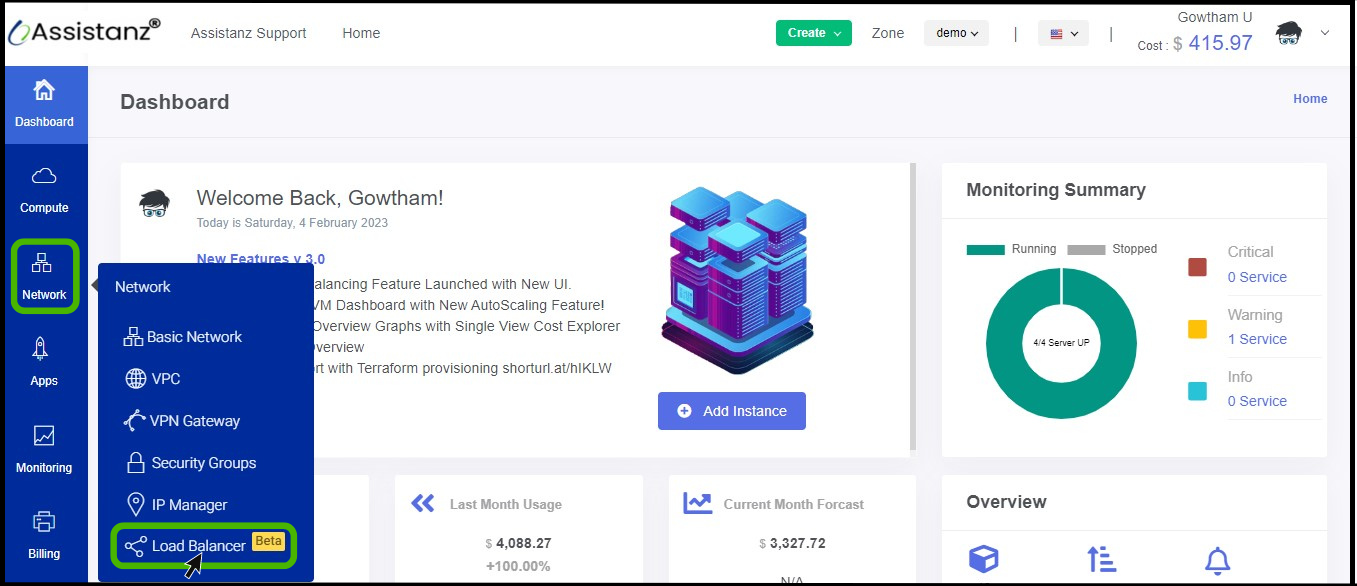
- Click on the Network dropdown button below the Compute icon, Which is available in the top left corner. from the dropdown, Click on Load Balancer, to create a new Load Balancer.
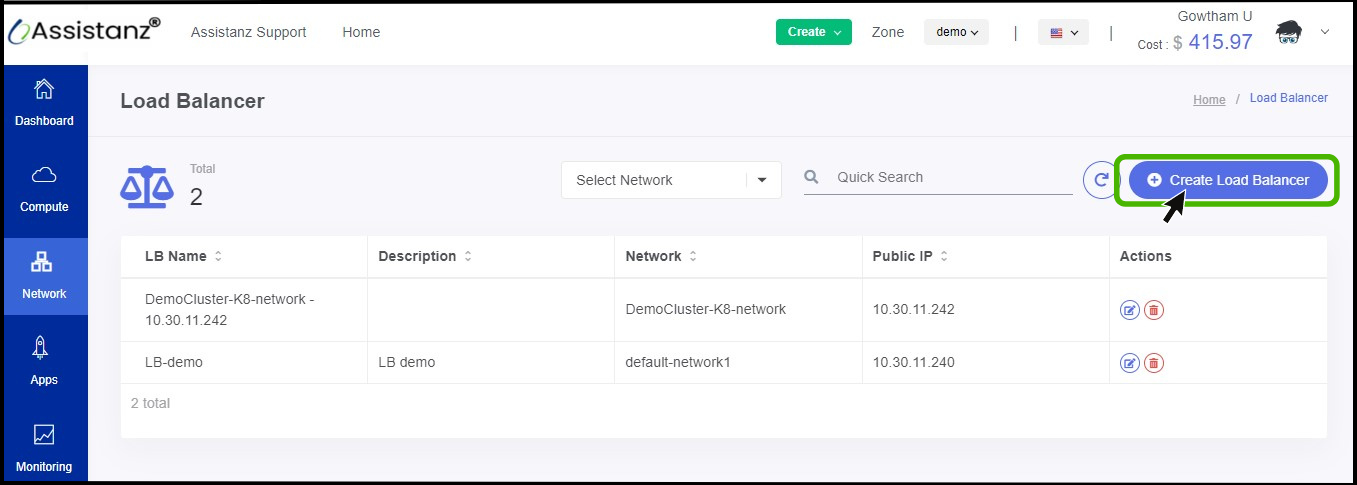
- Load balancer screen appears.
- On the right side of the panel you can see a option called Create Load Balancer option, Click on it.
- Add Load Balancer option appears on the screen.
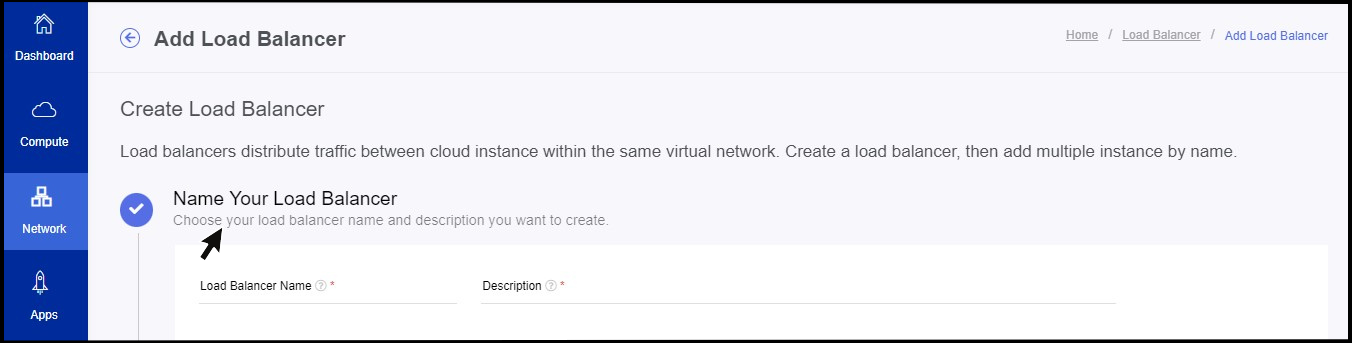
- As a first step enter a name and description for the load balancer that you create.
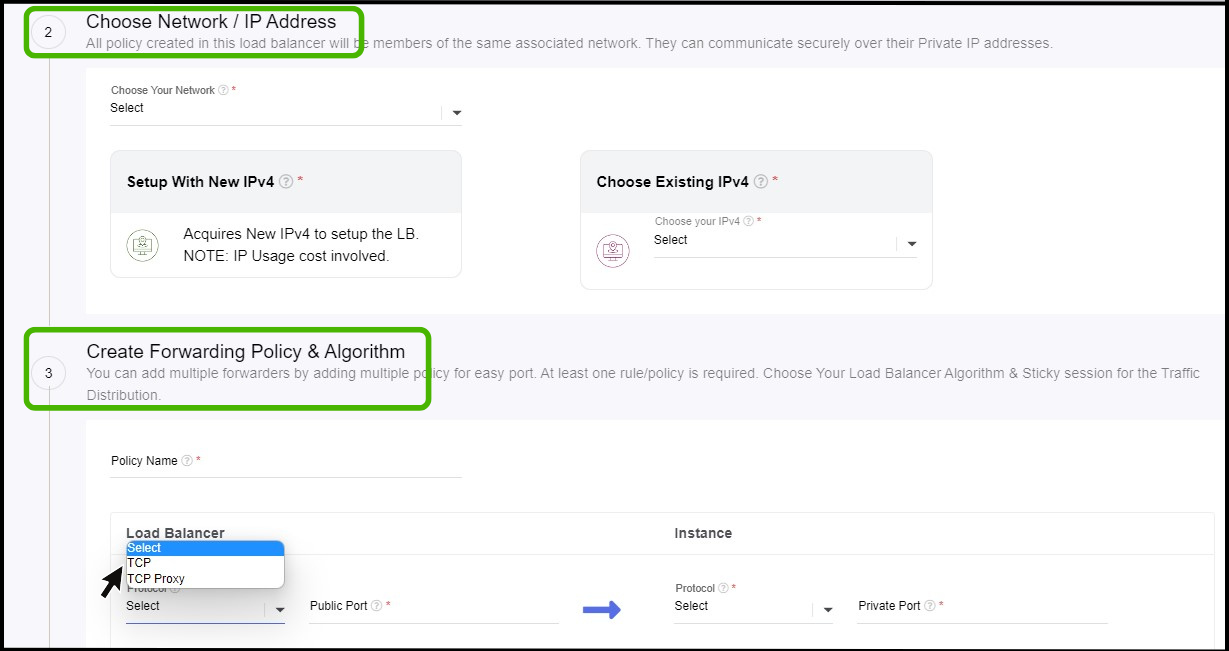
Network & IP Address
- Here you select the network and IP address for the Load Balancer.
- Create Forwarding Policy & Algorithm
- Policy name - Give a Policy name.
- Select the protocol and assign a Port number for both load balancer and instance.
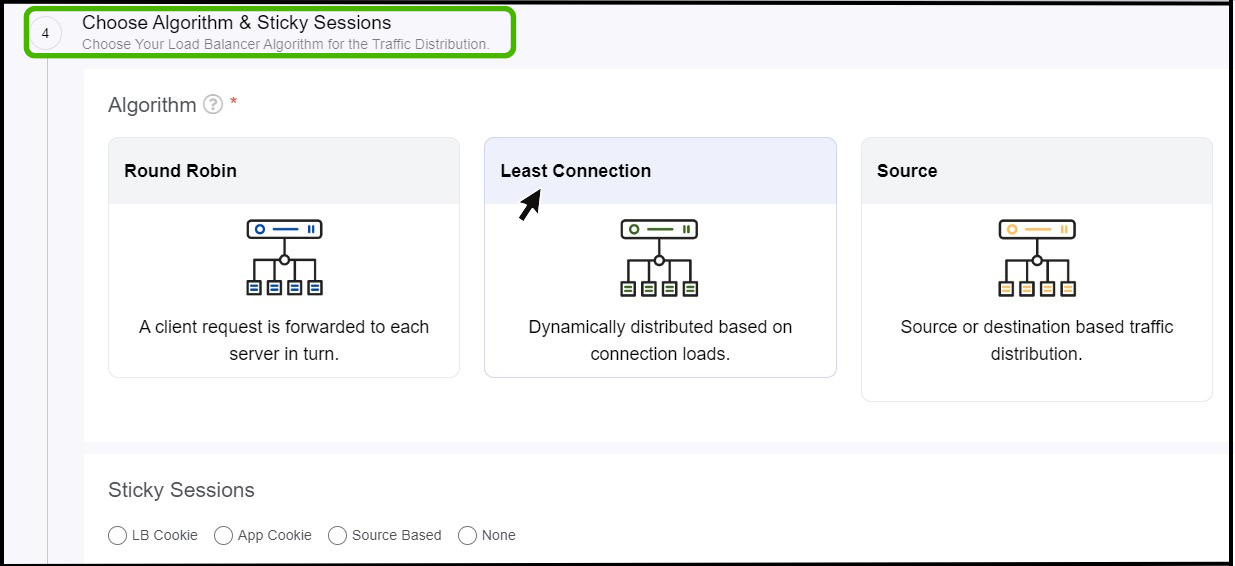
Choose Algorithm and Sticky Sessions
- Choose your Load Balancer algorithm for the traffic distribution.
- Select the sticky session as per the requirement.
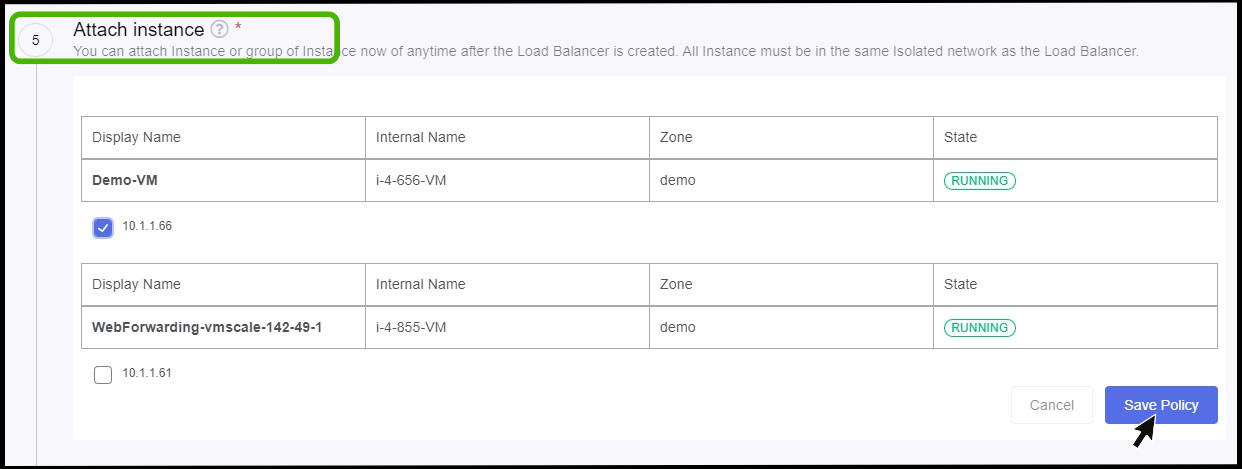
Attach Instance
- Attach the policy to the required instance and click Save policy button in the below.
- Now the Load balancer Policy has been created successfully.
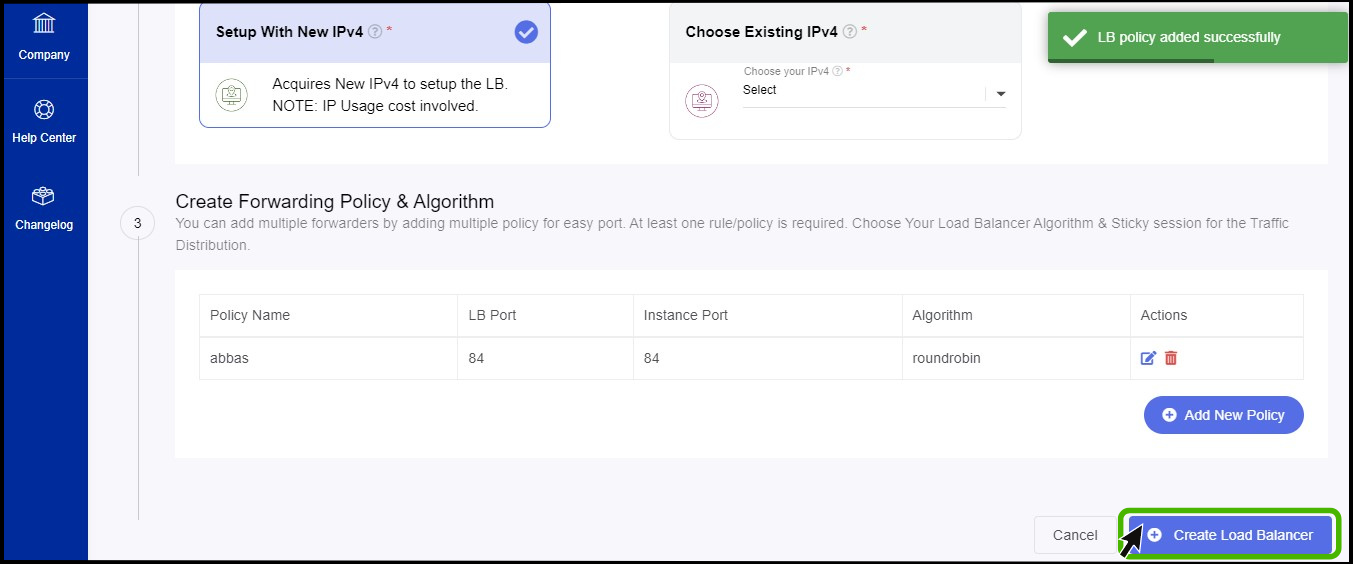
- Once the policy has been created successfully click on Create Load Balancer button which available on the below.
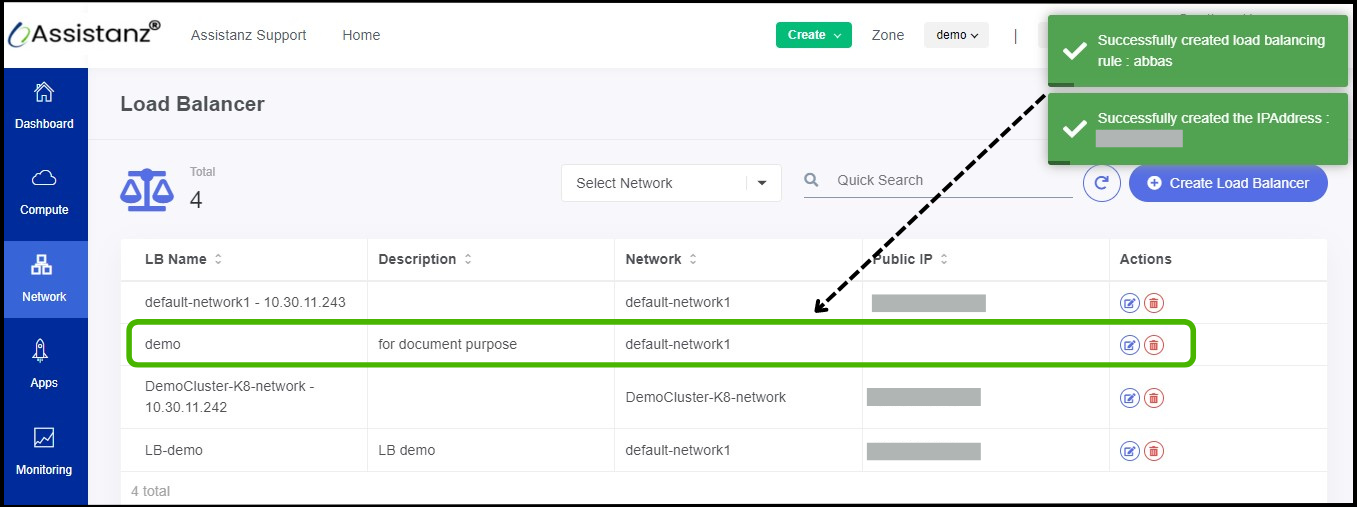
- The load balancer has been successfully configured on the instance.
- It is now possible to view the created policy on the Loadbalancer dashboard.