How to Create an Instance from StackBill CMP
A StackBill account is required to access the StackBill (CMP) Control Panel and to create an Instance. If you don't have an account, you can create a new account on the StackBill new account registration page.
When you log into the StackBill Control Panel, click on the Virtual Resources dropdown below the DashBoard icon, which is available in the top left corner. From the dropdown, click on Instance, to create a new instance.
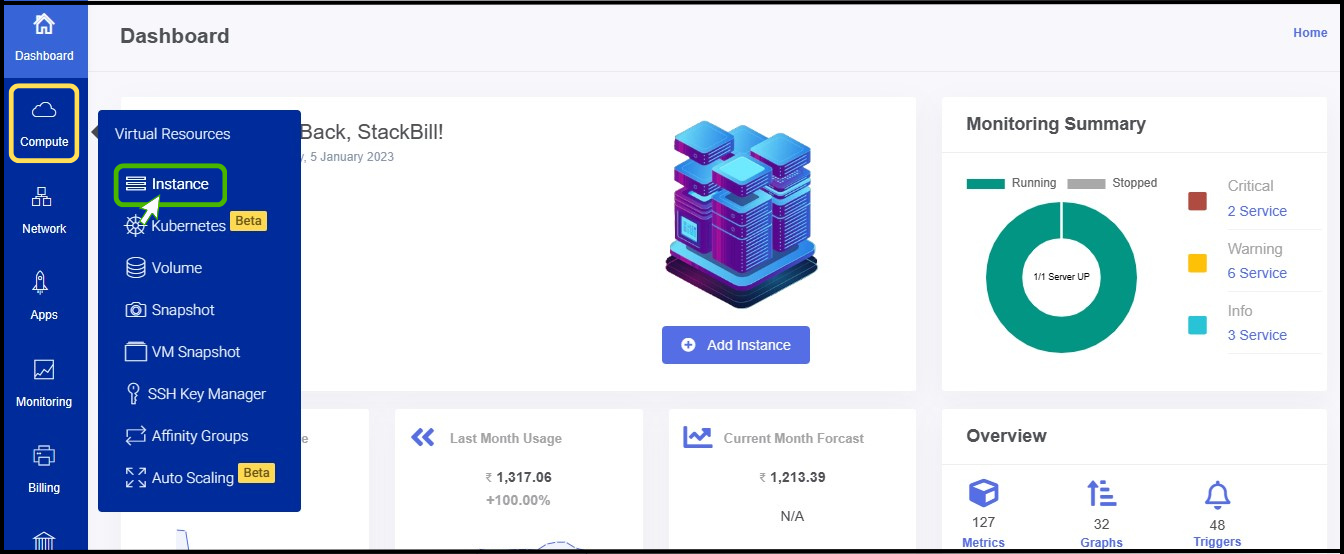
- On the instance creation page, you may select your instance's operating system, RAM, and other features (such as backups and monitoring) you want to activate in StackBill Cloud Management Portal. The most common settings are pre-selected, so you can quickly create an instance by scrolling down the page in the Quick Deployment type of creation.

- You can create a new instance by clicking ADD INSTANCE from the instance menu.
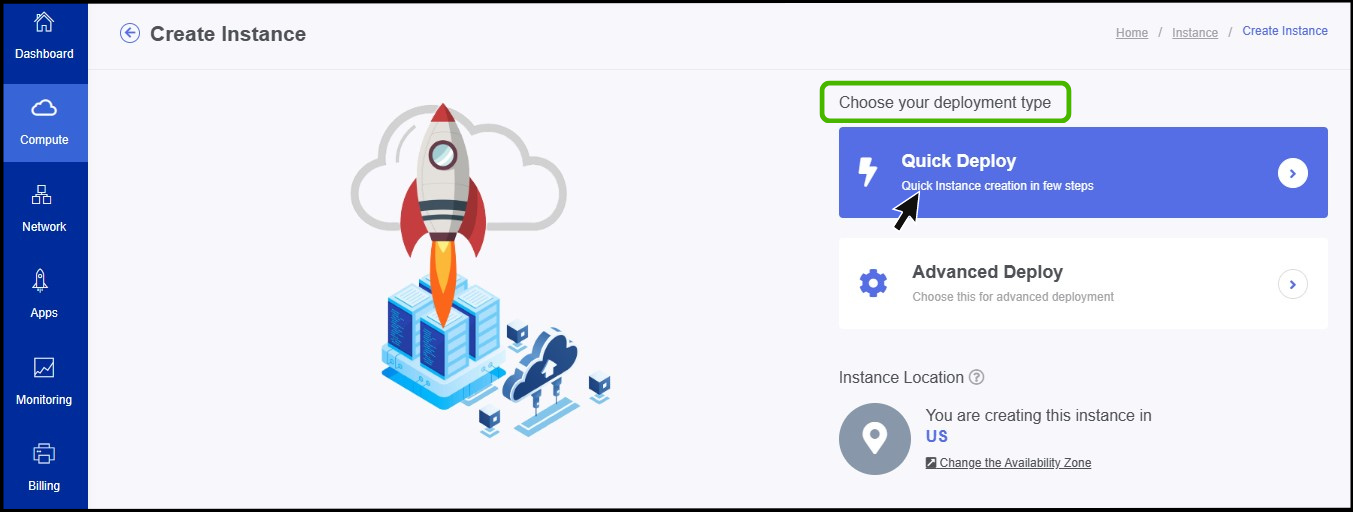
Types of Deployment
StackBill provids two types of deployment: Quick Deploy and Advanced Deploy.
Quick Deploy - Using Quick Deployment, you can deploy a VM quickly, and the user doesn't need much technical knowledge where all the technical needs are selected as default.
Advanced Deploy - Advanced Deployment will allow you to set network firewalls and allows you to select and customize your needs by yourself.
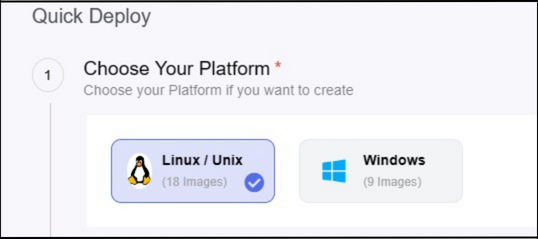
Choose platform
- Choose the platform for the instance creation.
Choose your Distribution
- Choose your distribution for your instance.
- You have a option to filter APPS+OS,OS,and your own OS.

Choose a plan
- In the Choose Your Instance Plan section - Select a plan according to your resource needs.
- Pricing which is configured in the below images is for demonstration purposes only..
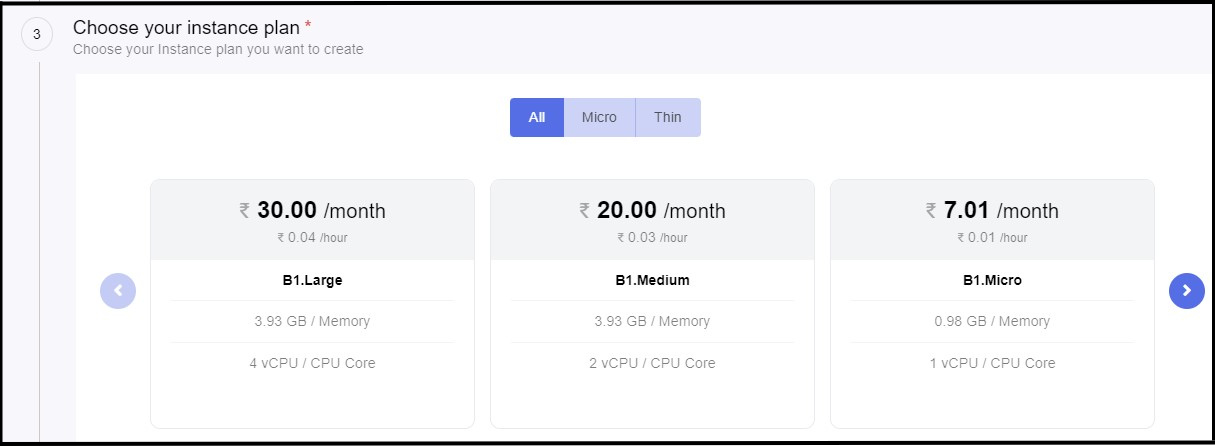
- Select the instance plan.
Choose your Network
- Select the checkbox to create a New public IP for the default network.

Set up Firewall (Security policy)
- Here you can configure firewall to the instance.

Add SSH Key Pair
- Secure your authentication of your instance using SSH Key pair .
- Here you can assign a SSH key to the instance.
- By selecting the ADD SSH KEY option from the menu, you can create a new key if you haven't the key already.

Identify your Instance

- In IDENTIFY YOUR INSTANCE option is to specify your instance name.
- With the NO OF INSTANCE option, multiple instances will be launched with the same configuration by just entering how many instances are required.
- At the bottom of the panel you can see what resources have been selected and what is the estimated cost for the instance.

- As a final step click on the CREATE INSTANCE button to launch the instance.
